Sourdough Bread Machine Recipe: A Culinary Tale of Growth and a Bread-Critic Hubby!
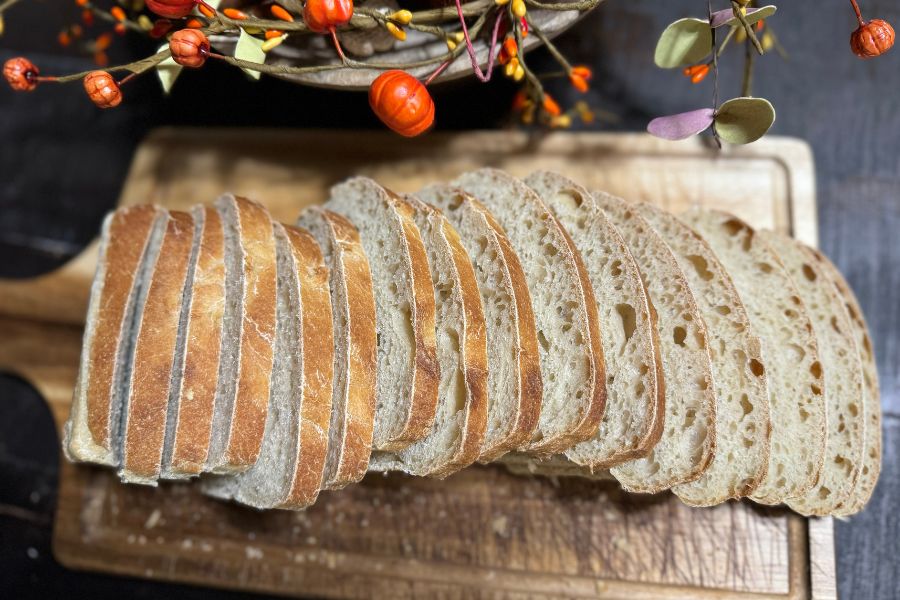
Hey fellow bread enthusiasts! 🍞✨ I recently unleashed my baking skills (yes, I’ve got some now!) on YouTube, sharing this fantastic sourdough bread machine recipe with the world. Why, you ask? Well, I wanted to see who else was up for this delightful bread-making journey!
Let me spill the beans – this recipe has become my absolute favorite because it’s a game-changer. Load up the machine, hit that dough cycle, and wake up to the heavenly aroma of freshly baked sourdough. It’s practically foolproof – even for someone like me, who once considered burning water a culinary achievement.
Sourdough Bread Gift Giving!
The bread is so fantastic that I’ve even turned it into the go-to anniversary gift for couples in our church. Move over, traditional gifts; it’s time for gift-wrapped sourdough goodness! 🎁

Now, my family loves this bread so much that they’d devour an entire loaf in one go if I let them. We’ve made it a weekly tradition to savor it throughout the week, but let’s be honest – sometimes it ends up as the melty cheese hero in a grilled cheese rendezvous or transforms into the perfect panini partner.
Enter my Bread-Critic Hubby!
Now, let me share a slice of family humor. We’ve got this ongoing joke about bread slicing at our house. Enter my husband, the Bread Critic. He claims we’re all slicing it wonky or making each slice a different thickness. To address this “dilemma,” he’s become the designated bread slicer. Trust me, he takes his slicing duties seriously, and the results are picture-perfect! 🥖
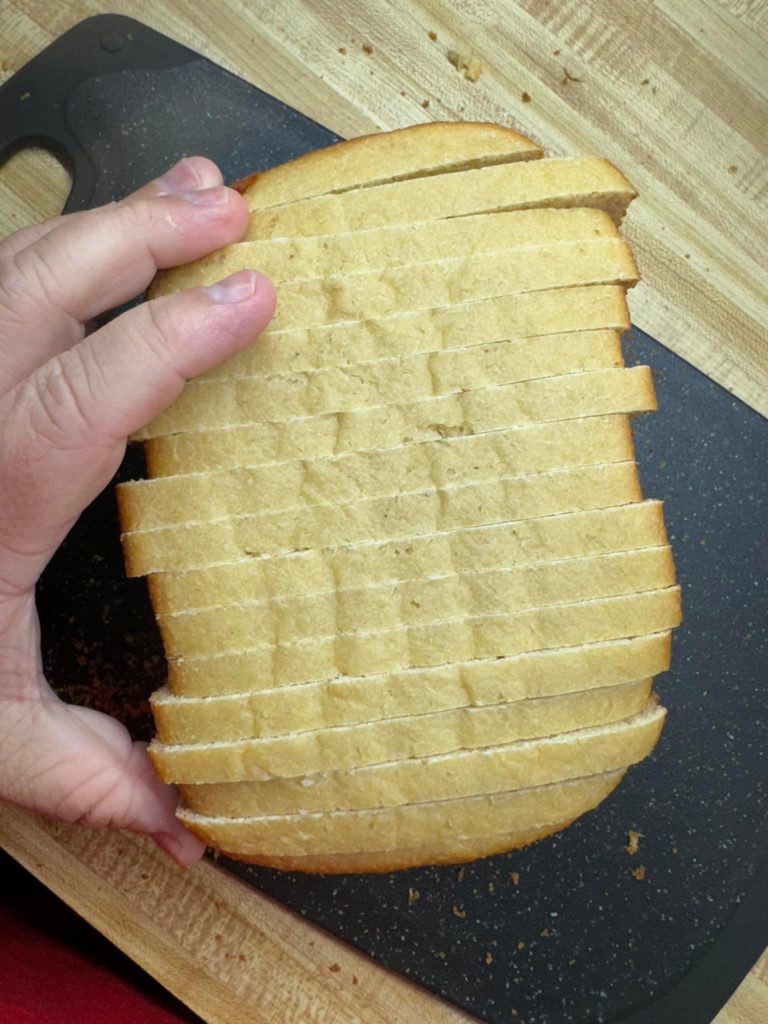
I playfully tease him about being a psycho, but hey, the man knows his preferences. And if you’ve read my post “We’re Just Friends,” you’ll know that he married me fully aware of my cooking evolution – from not being able to cook at all to now churning out fresh bread like a pro.
Link to my Bread Machine: Oster Expressbake Breadmaker
So, my kitchen comrades, I’m tossing this super-duper easy recipe your way. Give it a shot, share your thoughts, and don’t forget to rate it – because each rating boosts my blog and makes me feel like a baking rockstar! LOL! 🌟 Be sure to read all of the special tips at the bottom of the recipe.
Embark on the sourdough adventure, and don’t forget to share your experiences in the comments below. Let’s sprinkle a little more magic into our baking escapades!
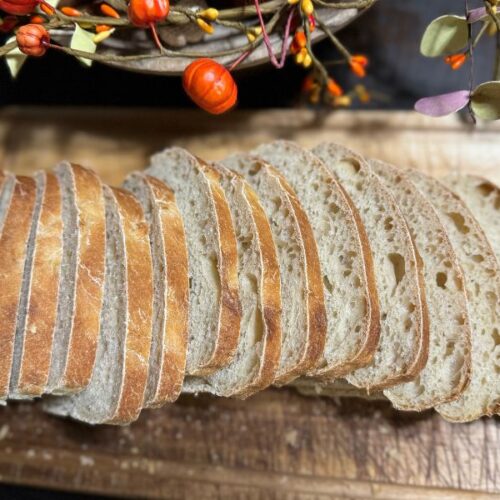
Sourdough Bread – Bread Machine
Equipment
- 1 Bread Machine
Ingredients
- 1 ¼ cups room temperature water
- ¼ cup unsalted butter, melted
- 4 cups unbleached all-purpose flour
- 2 tablespoons honey or sugar
- ½ tablespoon salt
- ½ cup active sourdough starter
Instructions
Prepare the Bread Machine:
- Place the room temperature water and melted butter into the bread machine pan.
Add the Dry Ingredients:
- Sprinkle the unbleached all-purpose flour evenly over the liquid ingredients.
- Add honey (or sugar) and salt.
Add Sourdough Starter:
- Spoon the active sourdough starter on top of the dry ingredients
Start the Dough Cycle:
- Select the "Dough" cycle on your bread machine.
Remove Paddle:
- At the end of the kneading cycle, open the bread machine and remove the paddle to prevent it from baking into the bread.
Allow Overnight Rise:
- Close the bread machine and let the dough rise overnight in a warm area.
Bake in the Morning:
- The next morning, select the "Bake" cycle on your bread machine and set it for 1 hour.
Cool and Slice:
- Carefully remove the bread from the machine when done, and let it cool on a wire rack.
- Slice and enjoy your delicious homemade sourdough bread!
Notes
- To get the best outcome, it is best to have a very active and bubbly starter.
- I think one of the best alternatives in this bread would be the substitution of honey versus the sugar. I prefer to use our local honey!
- Another possible substitution would be with your flour. I personally love to use Kamut. It is lower on the glycemic index. I have starter with this flour as well. Just make sure that when substituting different varieties of flour that you adjust the amount accordingly. For instance, Kamut requires about 1/4 cup less of flour that unbleached all-purpose flour.
- Keep an eye on your dough as it is kneading and mixing. You want to be sure it is at the proper consistency. Your dough should be pulling away from the sides of the bowl, slightly sticky, but not wet.
- Whew! I cannot stress this one enough. I tend to forget it from time to time. It is best to remove it as soon as the cycle stops kneading. This way the bread can rise and bake without the paddle inside. There won’t be such a gaping hole once it is finished. Also, if you are like me, I give bread away quite frequently. I have almost given my paddle away too. Eeek!
- HUGE tip here! Sourdough like warm weather. If you are baking this in the winter, it is vital that you keep the area warm where you will be allowing the bread to rise. I have gone so far as to place my bread machine in the oven with the light on during our coldest months. You bread will react differently during the rainy season as well. However, regardless of the weather, you can still have great bread!
- From research, it seems as if most bread machines have similar options to mine. However, just be sure to check your machines instruction manual so that you can get the best results.
- I typically slice my bread and store it in an airtight ziplock bag. I make sure to release any air within the bag prior to sealing. We usually eat a loaf within a week. I have heard of bread bags, but I have not tried using one yet. Maybe sometime in the future.
- Freezer friendly! Yep, I’ve done it. The best way to freeze your bread it to wrap it in plastic wrap and then seal it in a freezer safe bag. Be sure to release all air from the bag before sealing. How long will it last in the freezer? I don’t think I have tried more than a month, but I have read it can last 3 to 6 months if frozen this way. Give it a try and let me know.






“1 Comment
Teresa This worked great for me! I don’t have the patience to do overly fussy instruction recipes, and so this is my new go to recipe!
5m
Reply
Yay! I’m so happy to hear that you enjoyed it.🥰 Thank you so much for taking time to give it a review!