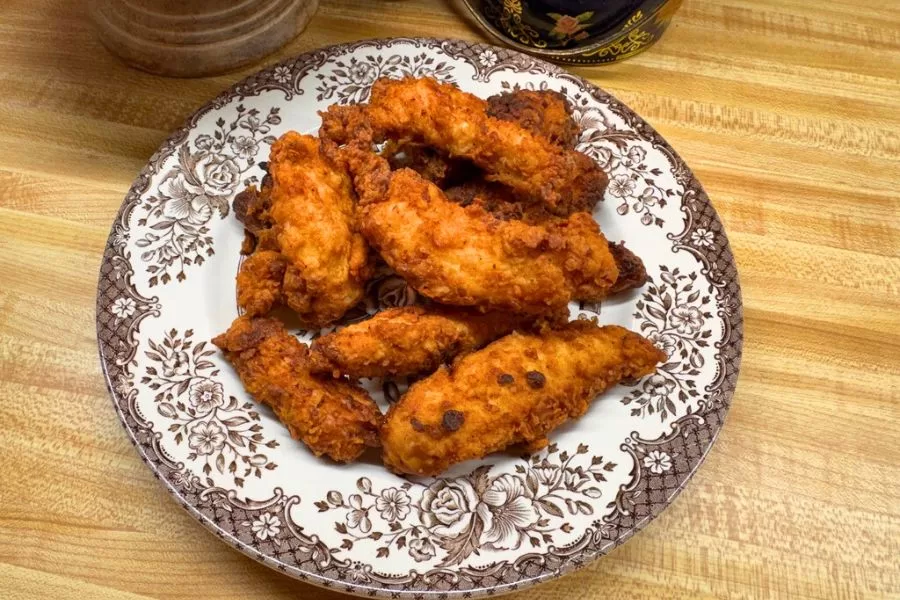
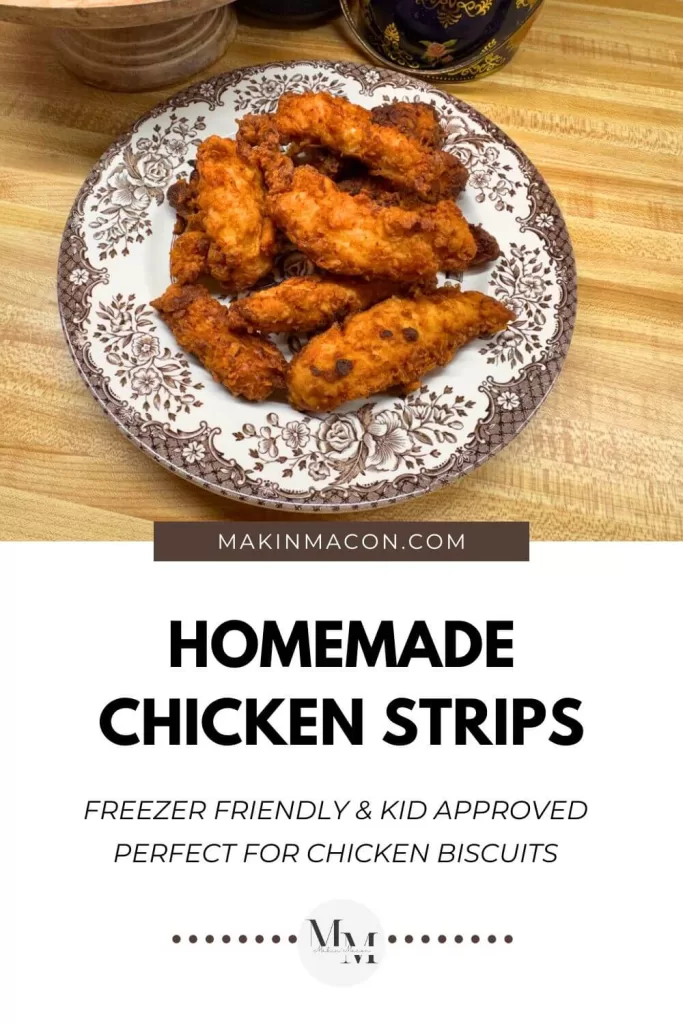
Easy Homemade Chicken Strips Recipe (Freezer-Friendly & Better Than Store-Bought)
This homemade chicken strips recipe started because of one simple thing: chicken biscuits.
My daughter has recently started loving chicken biscuits.
If you’ve priced one lately when eating out, you already know the cost adds up quickly. For our family, cost is always at the forefront of what we do. But just as important is knowing what’s in our food.
We’ve been slowly moving toward a “cleaner” way of cooking. We’re not fully there, but it’s a work in progress.
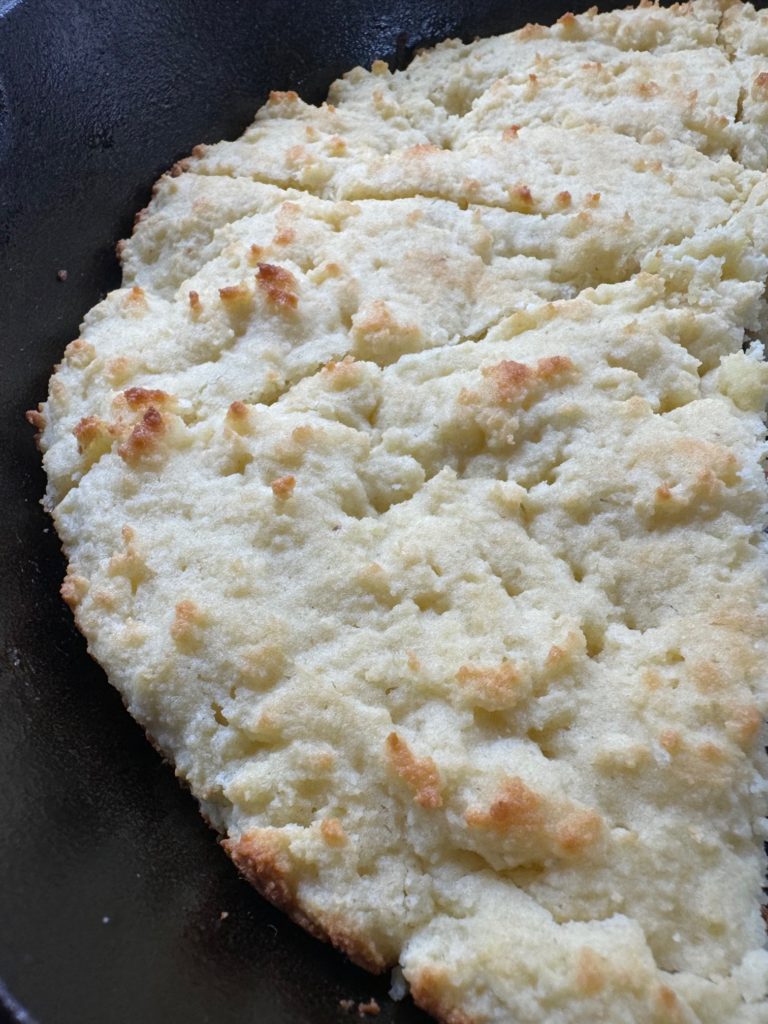
The good news? We already make amazing sourdough biscuits (and yes, I’m still working on our fresh milled flour version). Now that we have these homemade chicken strips, we can stack one, maybe even two, inside a warm biscuit, drizzle a little hot honey on top, and according to my daughter, it’s the BEST chicken biscuit ever.
And honestly? I agree.
But this recipe isn’t just about chicken biscuits.
When the kids get hungry and start asking for chicken nuggets or strips, we now have homemade chicken strips ready in the freezer.
Instead of grabbing a store-bought bag, we pull out our own, reheat them in the oven or toaster oven, and dinner or lunch is handled.
We’ve saved money. We know exactly what’s in them. And they taste better.
Why We Love These Homemade Chicken Strips
- Freezer-friendly for quick meals
- Made with simple ingredients we can pronounce
- Lightly crisp on the outside and tender inside
- Can be cut into strips or nuggets
- Perfect for homemade chicken biscuits
The Real-Life Truth About Frying at Home
Let me be honest. One of the main reasons I make a large batch at one time isn’t just for convenience. It’s because frying makes a mess.
Right now, we don’t have a vent hood. Maybe one day. Until then, we open doors and windows and let the air move through the kitchen. When I fry, it’s a whole production. Grease splatters. Counters need wiping. The stovetop needs attention.
So if I’m going to do it, I’m going to do it once and make enough to last.
We don’t fry often, but when we do, we use 100% pure beef tallow that we purchase here. It gives great flavor and handles heat well.
Helpful Notes Before You Make These Homemade Chicken Strips
- Marinate the chicken for at least 2 hours. This helps tenderize and flavor the meat.
- You do not need to double coat. Simply move the chicken from the marinade straight into the flour mixture and coat generously.
- Heat oil to approximately 325–350°F. Adjust heat as needed. If the coating browns too quickly, reduce the heat slightly before frying the next batch.
- Fry 4–6 minutes, turning once, until golden brown and the internal temperature reaches 165°F. The chicken should feel firm when gently pressed.
- If using more than 3 large chicken breasts, you may need to increase the flour coating mixture.
Freezer Instructions
Allow the homemade chicken strips to cool completely after frying.
For best results, lay them flat in a single layer to freeze first. Once frozen solid, transfer to a freezer-safe bag.
Reheat in a 375°F oven or toaster oven until heated through and warmed all the way to the center.
Serving Ideas
- Tucked inside a warm sourdough biscuit with hot honey
- Served with your favorite dipping sauce
- Paired with fresh fruit and a simple side
- Chopped and added to salads
We make an amazing sauce to go with these chicken strips that never lasts long. It’s even good on burgers. Maybe soon I’ll share that recipe too.
If you’re looking for more freezer-friendly, family-tested meals, I’d love for you to explore more recipes here on the blog.
And if you want new recipes sent straight to your inbox, along with encouragement for feeding your people well even on busy days, be sure to join Rooted Table. You’ll find the sign-up below.
Homemade Chicken Strips
Equipment
- Deep pot or heavy-bottom Dutch oven
- Tongs
- Mixing Bowls
- Thermometer recommended
- Cooling rack or paper towel-lined plate
Ingredients
- 3 large boneless, skinless chicken breast – cut into strips or nuggets about 2 1/2 to 3 pounds
Marinade
- 2 cups buttermilk
- 2 Tlbs garlic powder
- 1 Tlbs black pepper
- 1 Tlbs paprika
- 1 tsp salt
Coating
- 2 cups unbleached all-purpose flour
- 3 Tlbs cornstarch
- 1 tsp black pepper
- 1 tsp garlic powder
- 1 tsp paprika
- 1 tsp salt
For Frying
- Beef tallow or neutral oil for deep frying
Instructions
- In a large bowl, mix together buttermilk, garlic powder, black pepper, paprika, and salt.
- Add chicken strips to the marinade, ensuring they are fully coated. Cover and refrigerate for at least 2 hours.
- Heat oil in a deep pot to approximately 325°-350℉ over medium heat to medium-high heat. Adjust heat as needed to prevent the coating from browning too quickly.
- In a separate bowl, mix flour, cornstarch, black pepper, garlic powder, and paprika.
- Remove chicken directly from the marinade and place into the flour mixture. Coat generously on all sides.
- Carefully place coated chicken into hot oil.
- Fry 4-6 minutes, turning once, until golden brown and the internal temperature reaches 165℉. The chicken should feel firm when gently pressed.
- Remove from oil and place on a cooling rack or paper towel-lined plate.
Freezer Instructions
- Allow chicken strips to cool completely. For best results, lay them flat in a single layer to freeze before transferring to a freezer-safe bag. Reheat in a 375℉ oven or toaster oven until heated through.
Notes
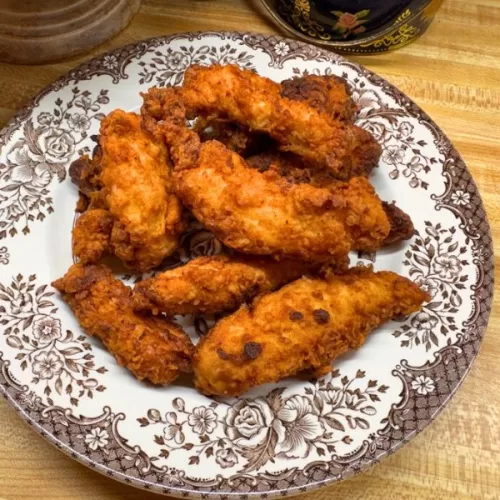
- These homemade chicken strips have a light, golden coating that is crisp on the outside and tender inside.
- The marinade is generous and can coat up to 5 chicken breasts, but if cooking more than 3 breasts, you may need to increase the flour coating mixture.
- Oil temperature can vary depending on your stove and thermometer. If the coating browns too quickly, reduce heat slightly before continuing.
- Chicken can be cut into traditional strips or nugget-size pieces.